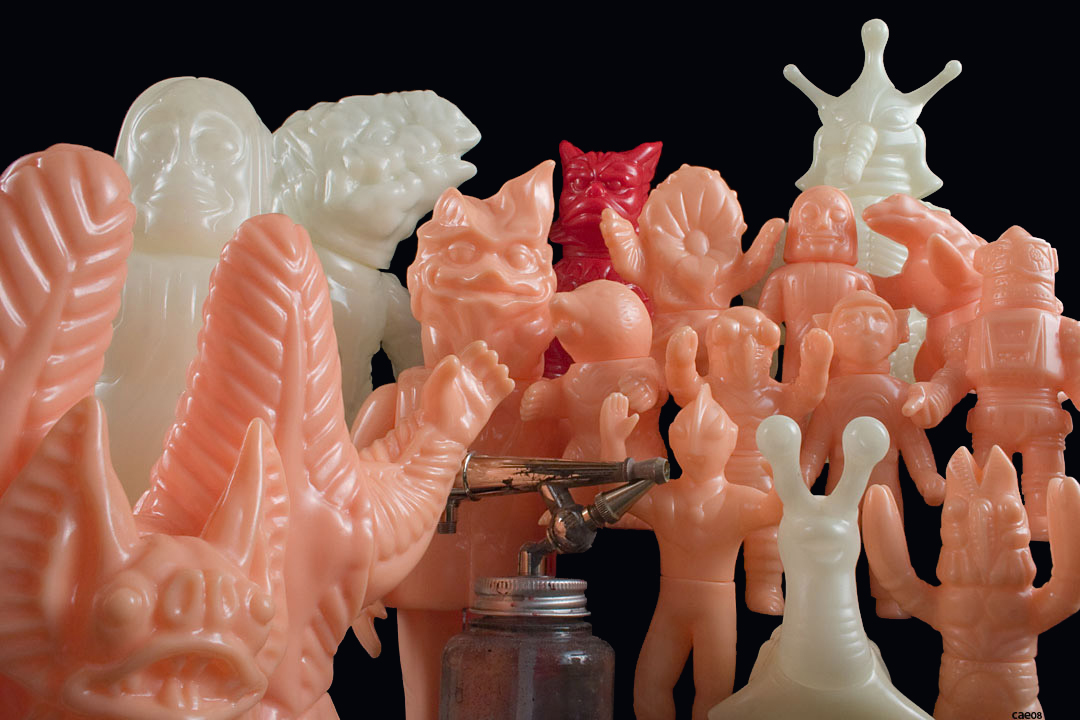
Over 6 years ago, I wrote about hoping to paint some vinyl toys I had collected (The Necessary Year – Day 1: Butterflies and Vcolor).
The post in question was made at the very beginning of a major life change for me: divorce, job loss, move, etc. As things changed in my life, my focus shifted away from collecting Japanese toys – or much else besides enough money to stay off the streets and help raise my daughter.
When I did finally become solvent enough to revisit the idea of decorating these blank toys, I discovered that the company I mentioned in the initial post had gone out of business and acquiring Vcolor paints in the US had become a bit of a challenge for the casual consumer.
As a refresher: Vinyl requires a specific kind of paint to cure and adhere to it. Most paints either stay sticky or just flake or scrape right off. Paints that do bind with vinyl do so by creating a chemical bond with it and, consequently, are pretty hazardous. Thus the difficulty in getting it.
Now, there is a paint called Monster Kolor available in the US that has become very popular with the designer-toy community. They produce LOTS of colors and come in markers. spray cans, sprayable colors, etc. It uses a different chemical bond, however and, back when it was first introduced, all I heard was that the colors were great but that the bite on the vinyl was just not as good as Vcolor’s – thus why I never tried it.
There are other paints as well but what attracted me to Vcolor in the first place was its predominance in the Japanese toy industry. What got me interested in the process int he first place was the tradition of Japanese vinyl toys, the overall aesthetic: the subject matter, the sculpt, the color palette, the application. While I have seen some absolutely stunning, custom paint jobs on wonderful, modern designer toys, this is not what I am interested in.
The attraction for me, beyond the mechanics of the medium, is finding the balancing point between my taste and this traditional aesthetic. For some reason, the hankering to do this came on again in June or so of this year and I found myself wondering “gee, it’s been forever since I looked to see if there is another source for Vcolor on the net …
I did a search and, lo and behold, there was one! Gunnzo – and in San Diego, no less! The price of Vcolor through them is pretty intense, I must say, but they also offer “Mad Ape Ninja” vinyl paint which, according to the Gunnzo representative, is manufactured by Vcolor as a kind of art-house color set in response to alternatives like Monster Kolor.
Anyway, I put in an initial order and tok a long, hard look at the blanks I had: where to begin?
Somewhat ironically, the bulk of the toys I have been able to find for this project come from a company operating under a similar ideal: M-1 Go is a modern, Japanese toy company that produces new, vinyl toys of classic, older properties, merging their own tastes with that of the traditional sculpting and decorating aesthetic.
Outside of the M-1 Go toys I have, there is also a blank glow exclusive of a Henshin Cyborg Walder bug alien by Takara I picked up years ago and a glow vinyl kit of the octopus like, Ultra 7, Chiburu alien that, to be honest, is the number one reason why I want to paint my toys. I have a thing for the Chiburu design, to say the least, and having this blank sitting here is killing me: I wanna paint it!
Once the paint arrives I get nervous – I mean *really* nervous. Scared, even.
What if I only manage to screw up the toys? That’s a lot of money, expectation, and pride down the toilet. I’m not gonna do that. Instead, I study up on the basics via this amazing thread at skullbrain.org, then serially harass an artist I know through the toy-collecting community for some tips, which he is incredibly gracious enough to provide (thank you!).
I begin to formulate a plan.
First I take pictures of my blank toys so that I can pull them into Photoshop and do my initial “painting” there. Then I begin looking at existing, finished toys with a more analytical, less fanboy, eye than before.
The big issue I’m facing is that most of the toys are either an off-white color or off-peach. Off-white isn’t *too* bad for coloring but the off-peach is a bit limiting, especially if you’re hoping to use the traditional approach, which means using some – if not a lot – of this base color in your palette. Luckily I have a creative eye, a color wheel, and “ugly” is part of the traditional, vinyl toy aesthetic.
I decide to work on the minis first. I care less about them so, if I screw one or two up learning how to work with the medium, it wont sting as bad.
For an airbrush, I have my old, siphon-feed, single action, Paasche air brush from my patina days. Rather than a compressor, I supply air to the brush by filling an air tank at the gas station with compressed air. Since I’m only running 20 psi through the brush, the tank lasts quite a while – but a compressor would definitely be better – but, then again, so would a gravity feed, dual-action airbrush!
The aforementioned Skullbrain thread convinces me to pre-thin all my paints down into dropper bottles, which I do before considering that I’ll be wanting some unthinned paint to brush – d’oh! Oh, well. My toy-deco mentor tells me the paints will evaporate back down to a pre-thinned consistency in no time flat if exposed to the air. Cool.
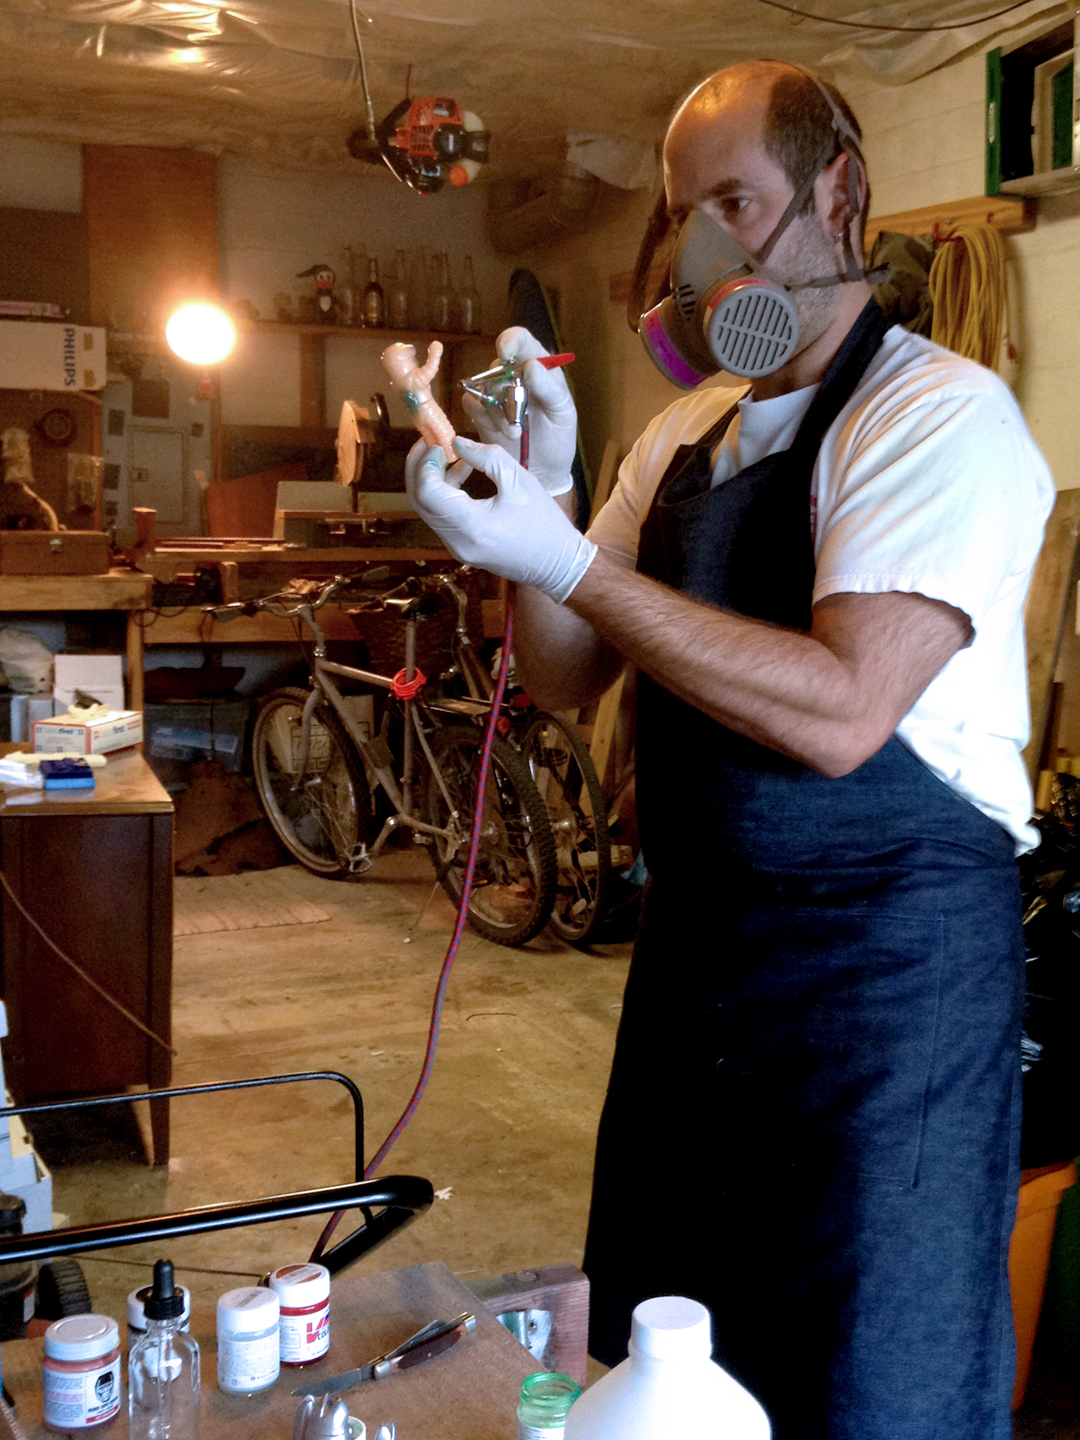 There’s no time like the present, so I get out my respirator, latex gloves, apron, and wipe my M-1 Annon mini down with rubbing alcohol: here we go!
My idea is to give the little fellow a patch or two of silver but I get excited because of how amazingly fast the paint dries – almost immediately! – and coat the whole thing.
Whoops.
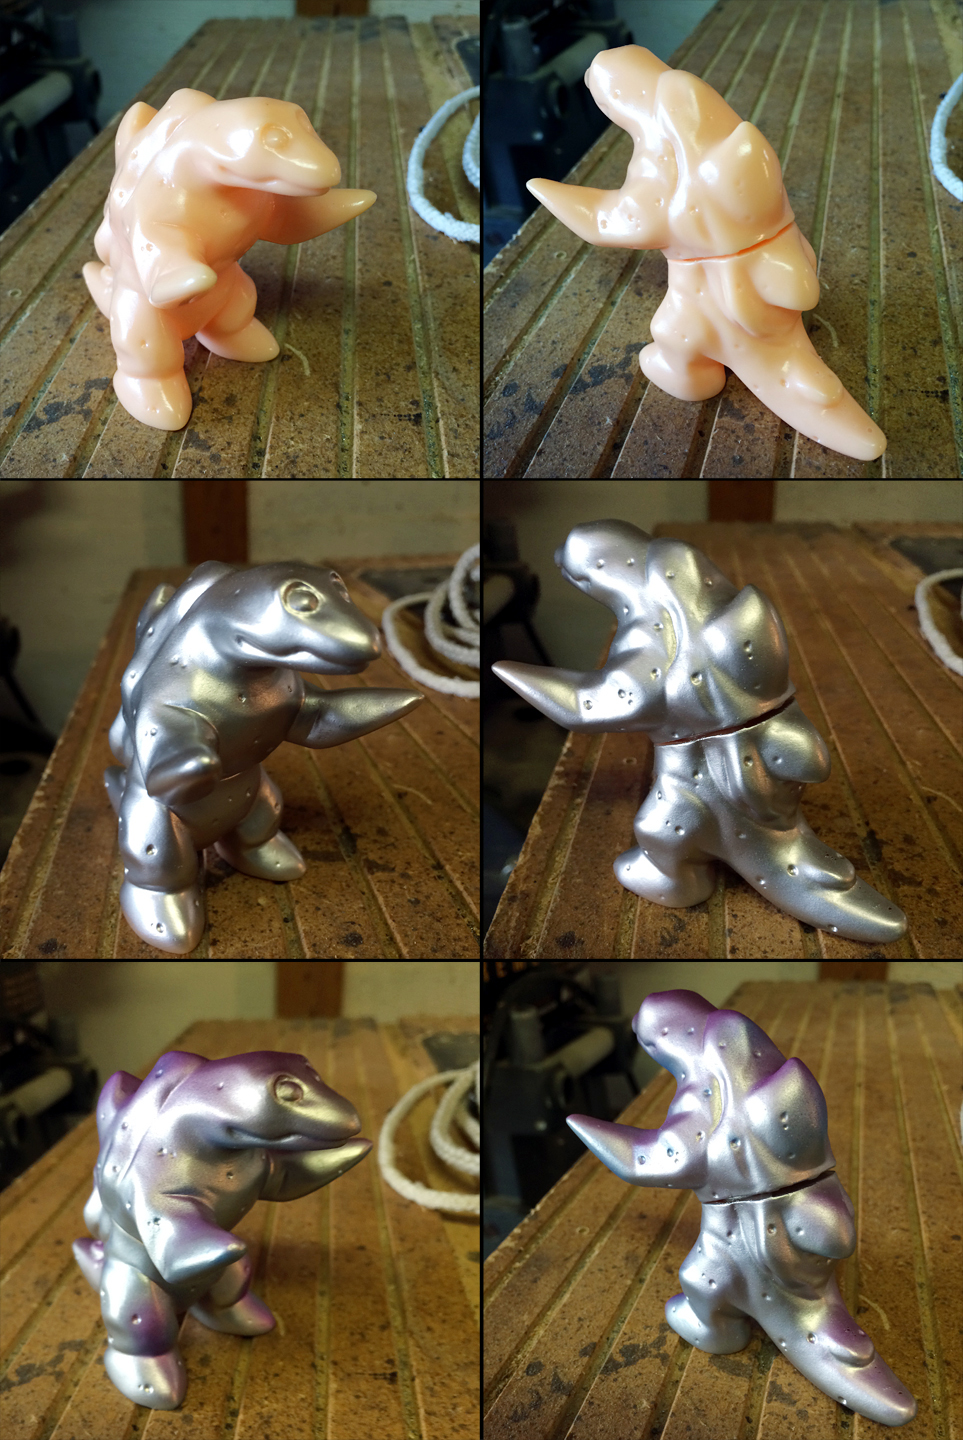 I decide to blow a little purple over it one way, and then some blue. Hmm – not bad. Now what? well, now I wanna do some thinking because … I started this one with *no* color scheme in mind.
I play around with a few ideas as I wait for another bubble in my schedule big enough for a painting session and decide … that I’m too excited and must try painting the Henshin Cyborg Walder bug alien I’ve come up with a design scheme for in Photoshop – it’ll be a cinch!
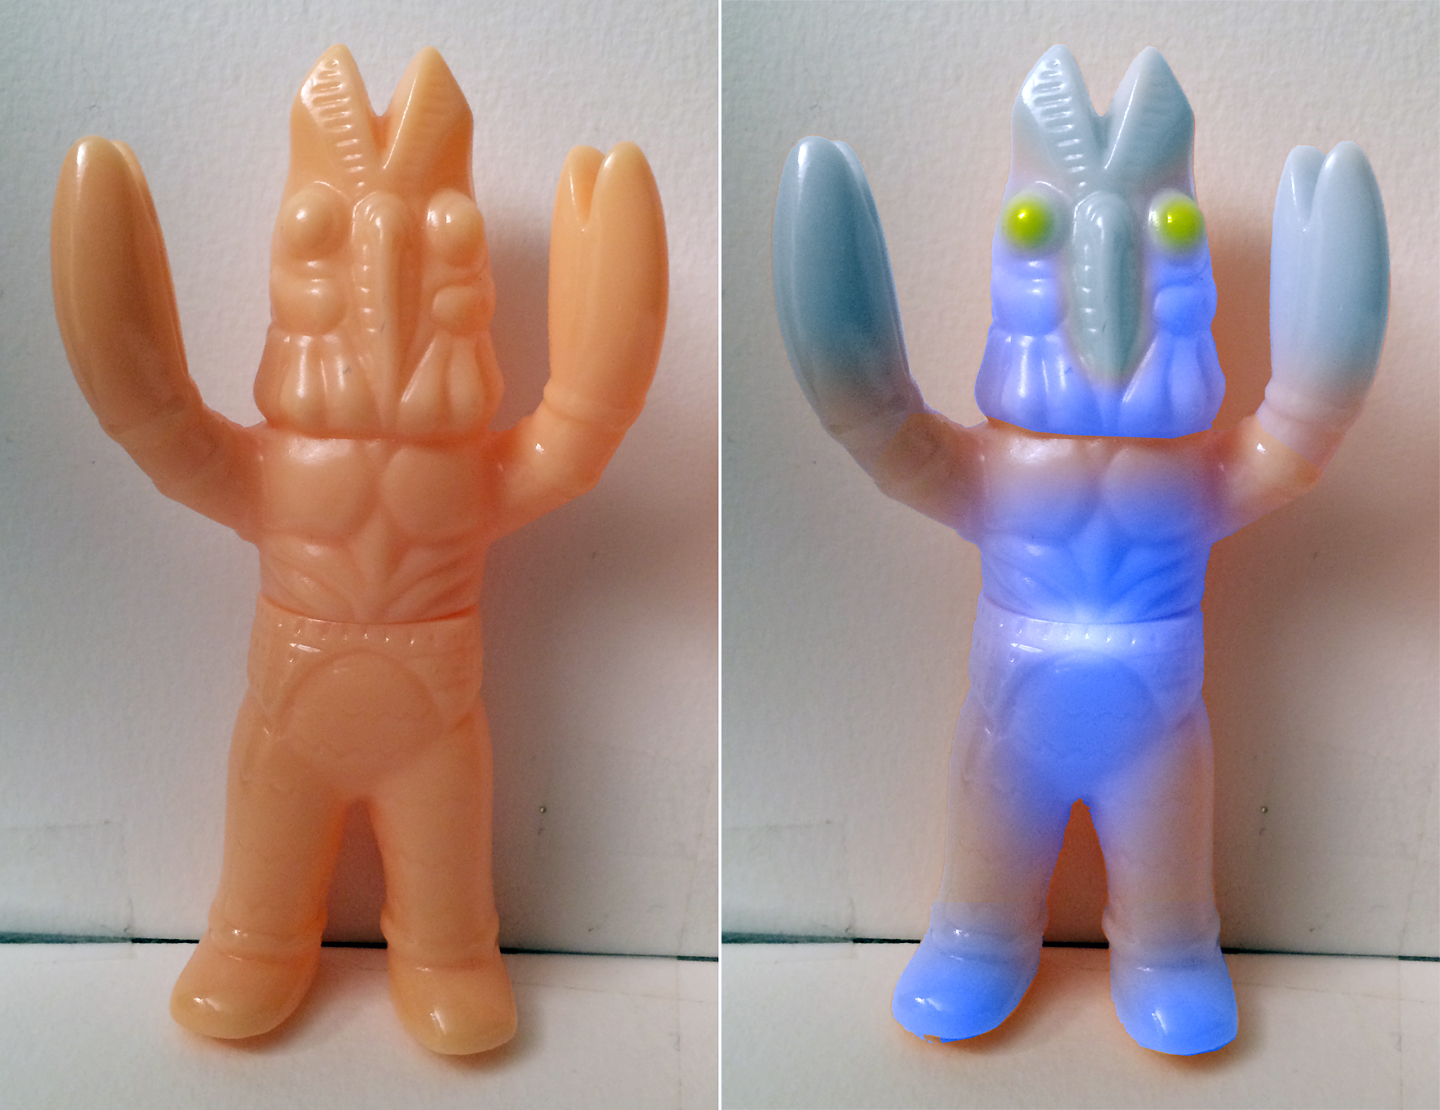
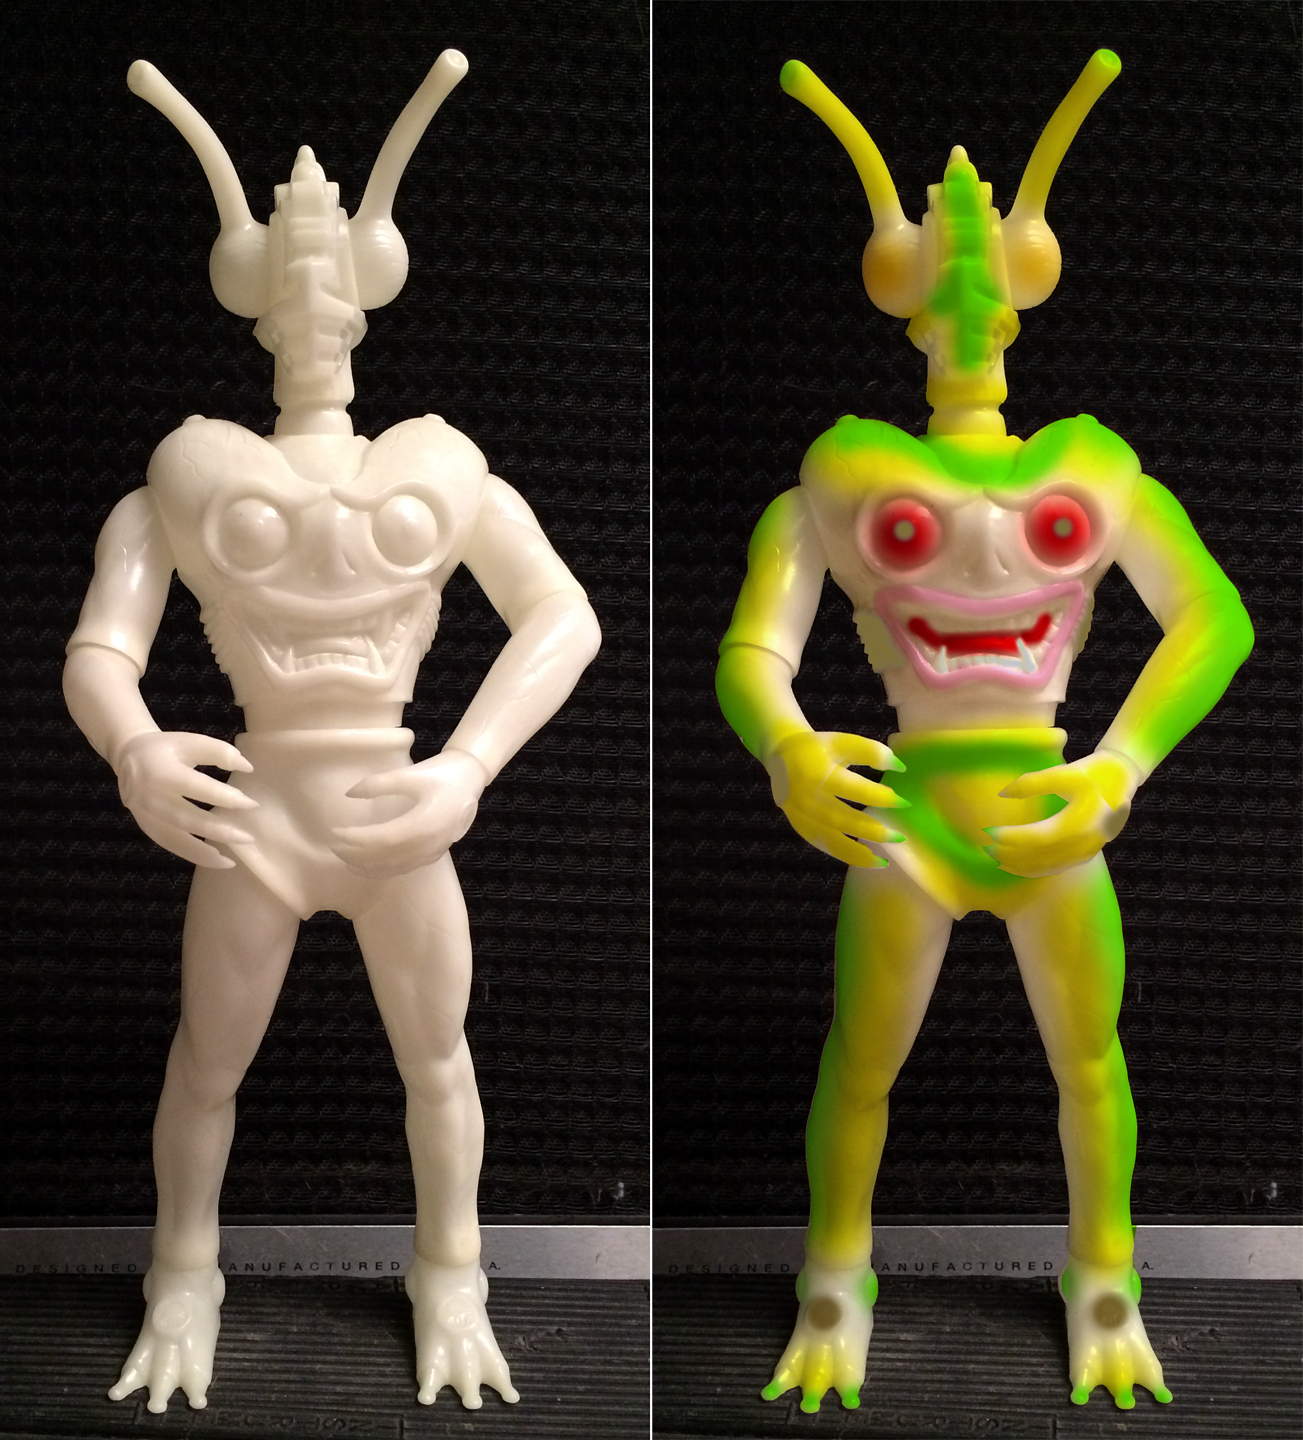 Using the picture on my iPhone as a guide, I apply my color scheme to the Walder alien, learning the paint and my airbrush as I go. Much as I like how it comes along, I almost immediately realize how foolish I am being. I am no way near ready for the level of this project. When finished, I am pretty damned happy with the results but I’ve applied way more paint than I ever intended to. Though pleased, to my eye the deco is a bit clunky and dry looking in a number of places – it still glows, though!
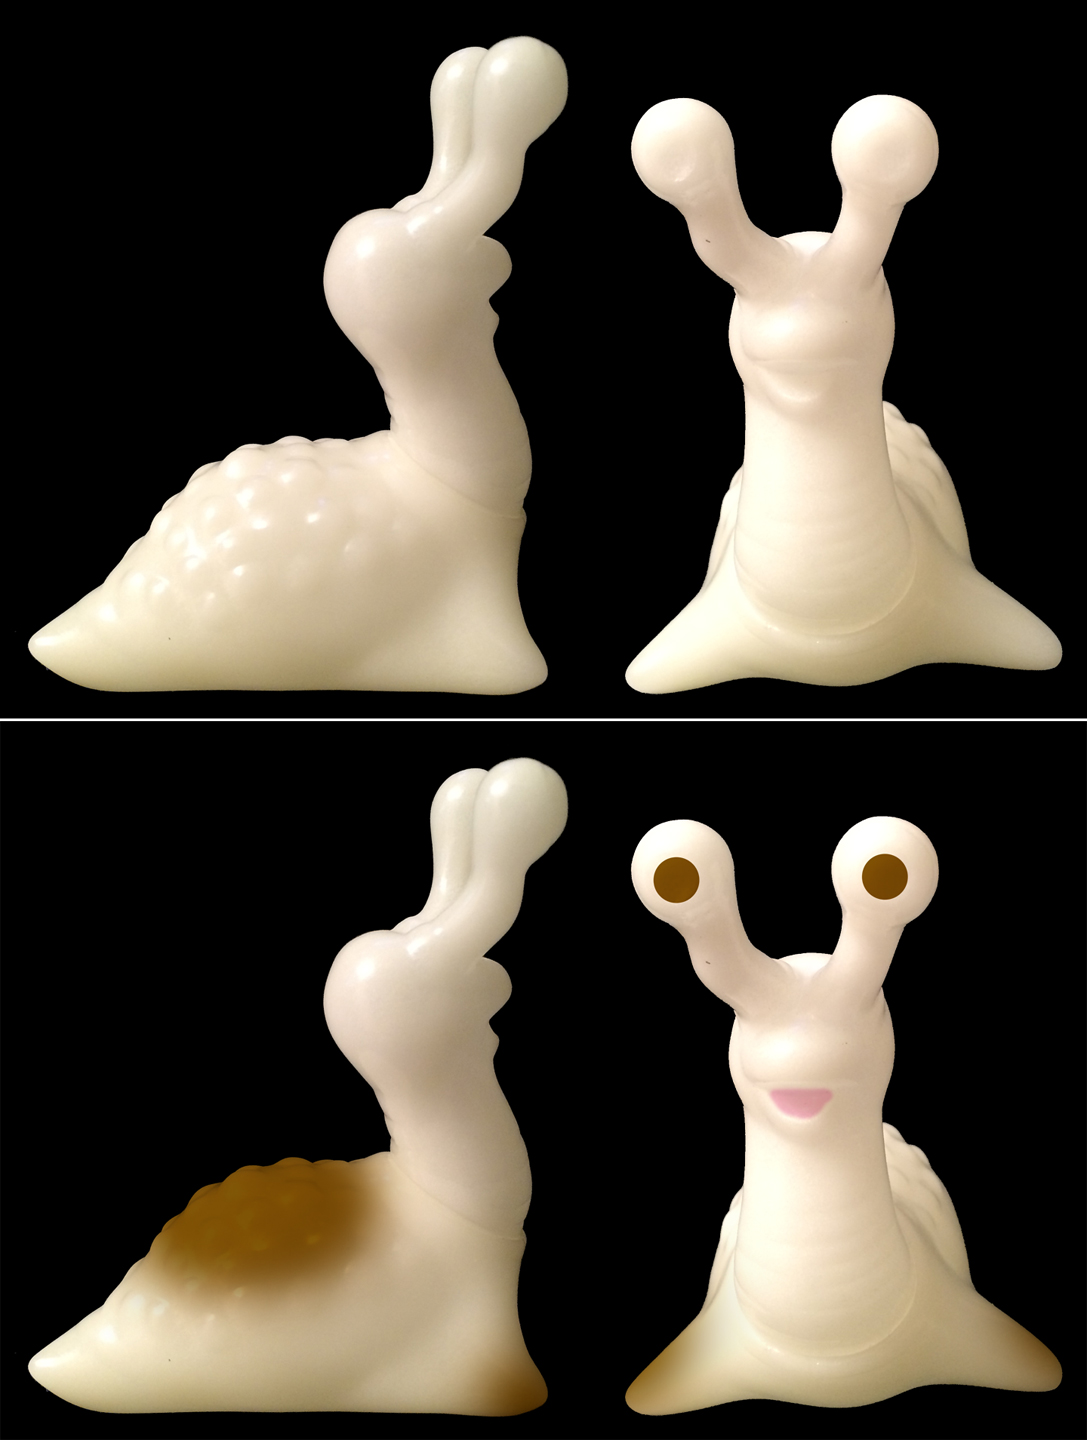
I decide it’s time to try brushing on the paints, so I take the partially finished Annon out and, this time having pre-decided what to do, apply a pink mouth line and finish up the eyes with a basic white and black pupil approach. The end results are mixed. Brushing Vcolor on evenly is not easy – have I even allowed it to thicken back up enough? I do not know – and I am left unsatisfied and certain that I’ll be coming back to this toy but again.
Another lump of days passes before I find the time (and nerve – the process still makes me nervous) to do some more. By now a number of the toys have been “painted” in Photoshop or my mind, so it’s just a matter of getting out there and doing it.
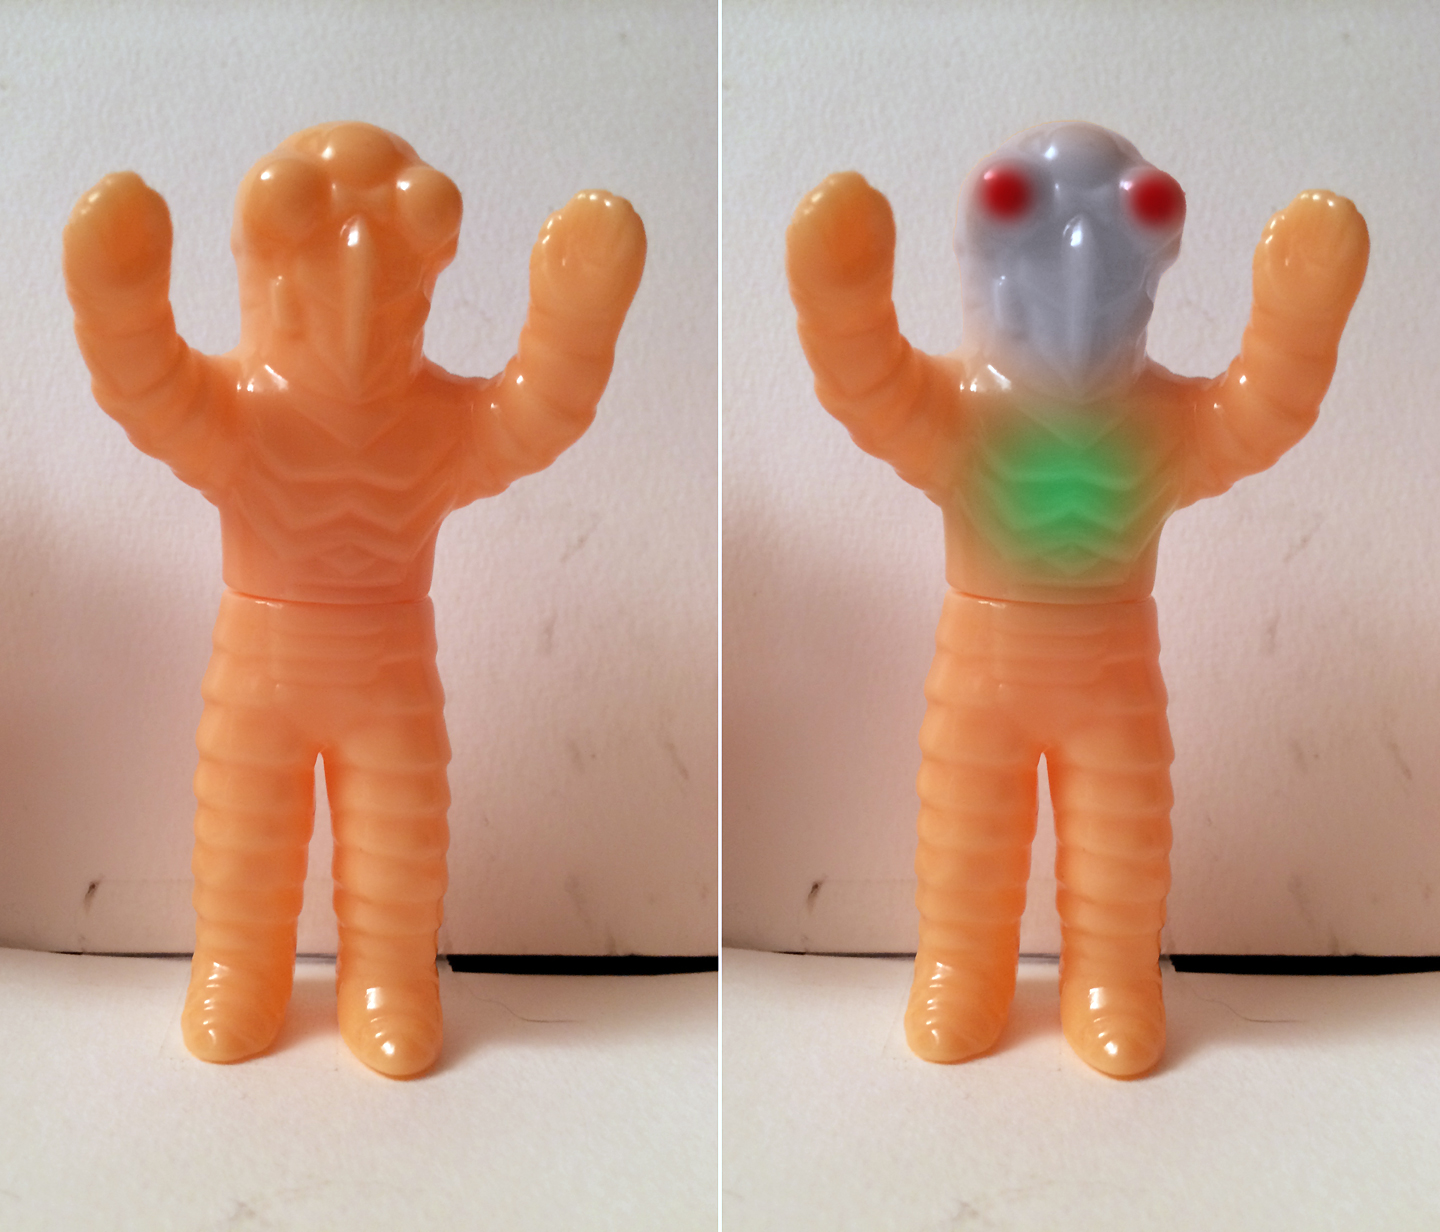 This time I am forcing myself back to the M-1 minis and a concentrated effort to paint the toys both minimally and more traditionally. With one exception, I pull it off and am thrilled with the results. The glow Namegon and off-peach Semin-Ningen minis come out looking even better than I had hoped (although the brushed parts of the Namegon – eyes and mouth – still come out uneven). The Baltan is more of a train wreck with, again, more layers of paint than I ever intended but, as I look at it, it begins (and continues) to grow on me.

