[continued from Working at Cross-Purposes (pt. 2)]
I’m the kind of person who always has a host of mid-process projects cluttering the corners of both their home and mind. Some of these projects are just dormant seeds I squirrel away for decades at a time. Others blossom more quickly … and some stall.
The devotional cabinet and crucifix lay in hibernation for almost a year.
Catching the eye of a friend of mine during one of our summer parties, I find myself reassessing the situation as I explain it. At this rate, I am never going to finish the damned thing. Should I just forget about the arched top of the frame?
Earlier in the year, I’d toyed with the idea of sending a piece of the wood with the pattern drawn on it to my brother, who happens to own a band saw but, again, couldn’t bring myself to have someone else create such an integral part of my piece.
I cogitate on it in the background for about a month after the party, then decide to attempt the arch one more time. If it doesn’t work this time, I’ll just forget the whole thing and move on with my rectangular frame.
This time I take my brother’s advice more seriously and, after sketching out my pattern a touch larger than I need, I make numerous cuts at right angles into the cut line; each no more than two inches from the next. Now if the blade begins to wander on the side I cannot see, it only gets a chance to do so for a very small section of the cut.
And it bloody well works! I pop a sanding roll onto my Dremel (another Christmas present – thank you, babe!) and pull the shape I need from my rough. Voila.
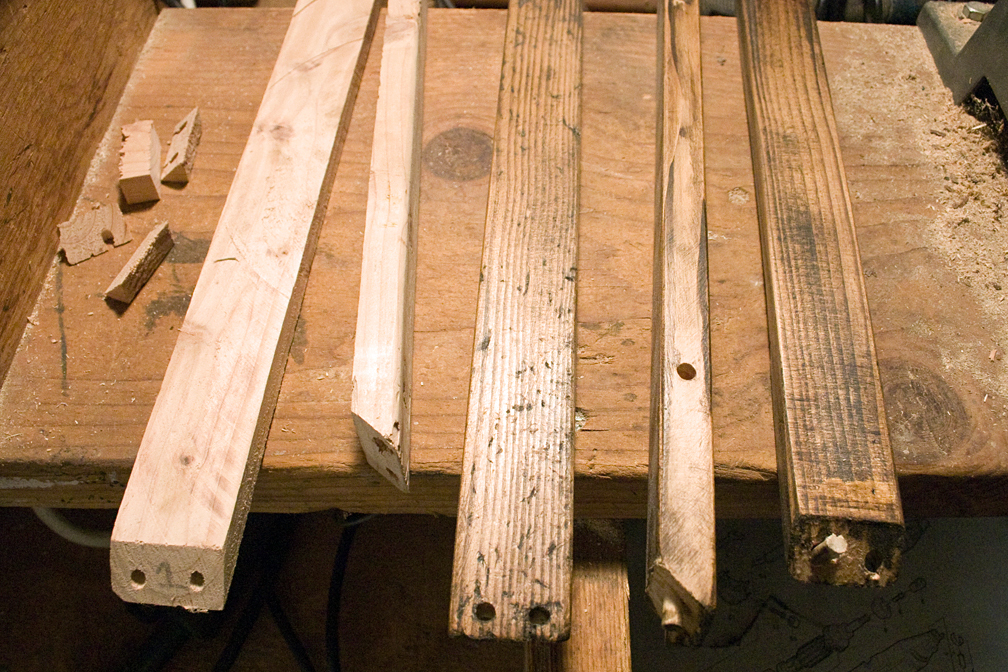 The only problem I see is that I didn’t leave enough on the ends of my arch piece to lock into the existing frame – I need to remake the sides of the devotional cabinet frame … and I’m out of 1” x 2”.
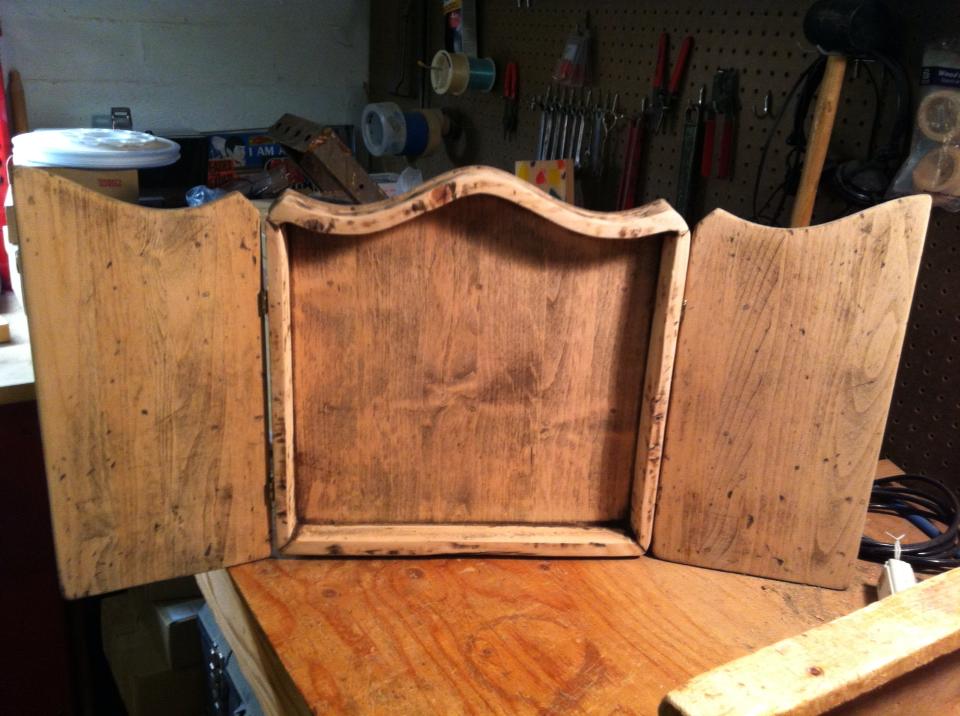
The wood I used for the arch – pine 2” x 6”, is different from the wood of my original, square frame, anyway, so I fabricate my own 1” x 2” lengths from the same piece of 2” x 6” I pulled my arch from, hoping the pieces will look of a kind with my arch both in grain and in origination. It’s a little discarding all but one piece of the original frame: the grain is more beautiful than that of the 2” x 6”.
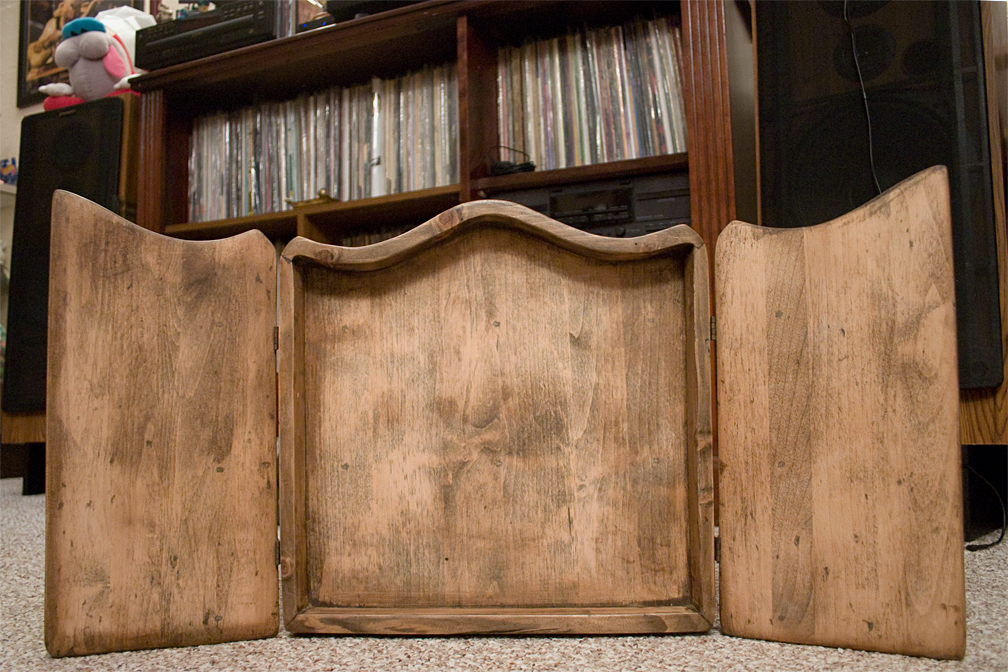
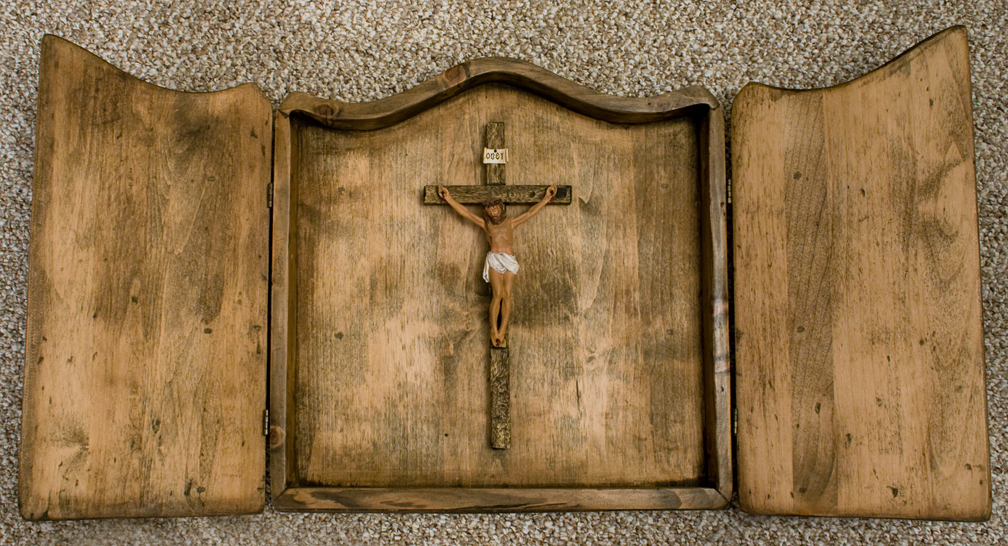
I peg my new frame together and then affix it to my cabinet’s back. Holy crap – I’ve done it! It looks great – primitive; clearly done by eye and hand rather than the perfection of machines (despite their rather large role in producing what is before me).
Now all that remains is the hinge question.
I return to my saved searches from the prior year and end up in the same quandary: nothing looks right. Barrel hinges could be cool, decorative hinges could be cool, H hinges could be cool. I pour over as many sites selling hinges, images of antiquated hinges, and sites talking about the history of hinges as I can find, yet remain unsure. So many *could* work but I’m peering at them virtually. Call me old fashioned but I need to see the darned things in meat-space.
It occurs to me to try the wooden hinges again – the idea is so appealing and, hey, I made the arched top, didn’t I? One small pile of scrap wood later, I go back to looking at hinges on the internet.
My wife convinces me to poke around in hardware stores despite what I already know. Home Depot’s selection sucks as usual. How can so large a space be so completely crammed with so little? I can’t figure it out. Another, smaller, locally owned store has a far better selection but I still draw a blank.
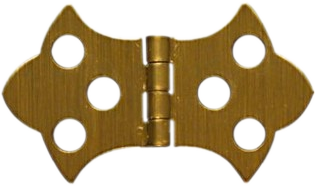 My wife mentions the vintage hardware store in Port Townsend, so we head down and poke around there. I see plenty of neat stuff but still nothing I am after: It’s all too Victorian and pricey. We try the recycled hardware place and, finally, my favorite hardware store in the area. Henery Hardware contains the best non-virtual hinge selection I’ve yet seen. They still don’t have what I think I want but, after some much needed prodding from my wife, I grab a set of decorative, brass, butterfly hinges: let’s see what I can do with them.
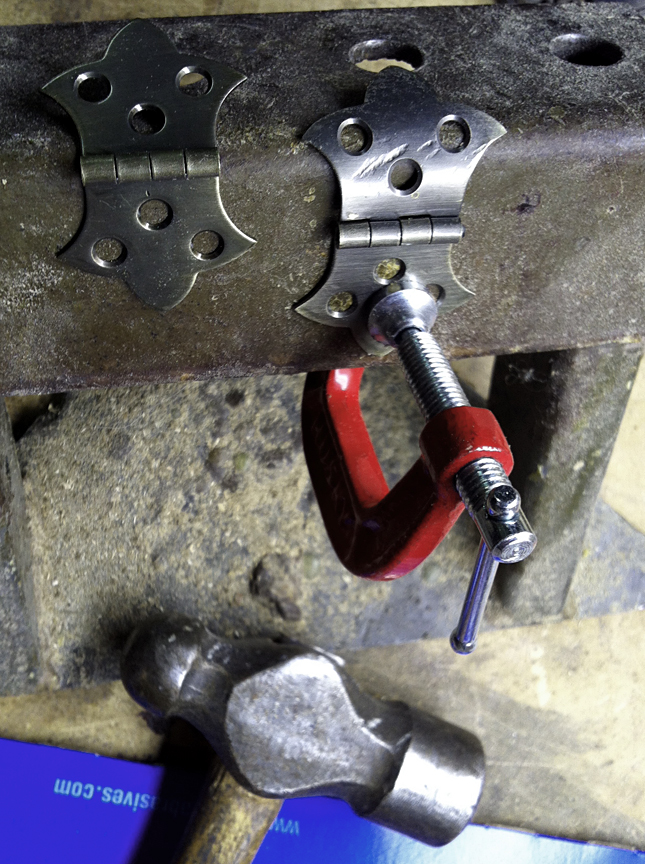 They’re going to need to be curved to fit the doors – can I do that or will they break? I clamp them onto a metal base and give them a whack or two with the ol’ ball peen. They form nicely, spreading as I go, the ugly uniformity of the factory finish improving with every blow.
I fit them to the cabinet as I go, tweaking here and there. The face of the door, along the edge of the routing, needs to be notched in four places to accommodate the outermost tip of each hinge. I could have inset them into the inside face of the doors but I really liked the idea of them being external.
Before I know it I have my four hinges, each tailor-made to a specific corner of the piece. I carefully screw them in place with a variety of standard slot screws – my most hated yet, seemingly, the appropriate screw-head type for this piece. When I am done the cabinet sits there looking great.
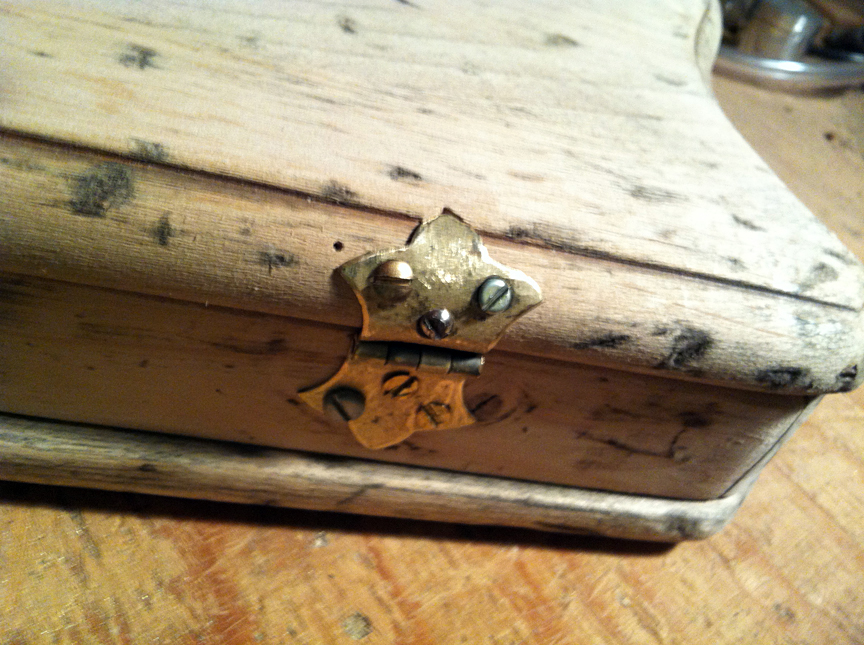 Now – how can I fix the naked brass of the hinges? The bulk of my hinge hunting had centered on iron as a material because the last thing I want on this piece is some bright and cheery, decorative yellow metal, which I have presently attained.
My experience as a patineur has me wondering if I can’t do some kind of a cold patina on the things. What can I use to corrode – or faux-corrode – brass?
I look it up and there aren’t a ton of options – brass isn’t supposed to corrode. I read about pre-packaged, corrosive compounds and clear ammonia but my impatience and education has me wracking my brain – isn’t there *anything* I have in my house that will do it?
Someone on a forum mentions vinegar and that clicks with me: of course! It occurs to me that I have some of my old patina chemicals lying around, too – specifically liver of sulfur. Ooooh!
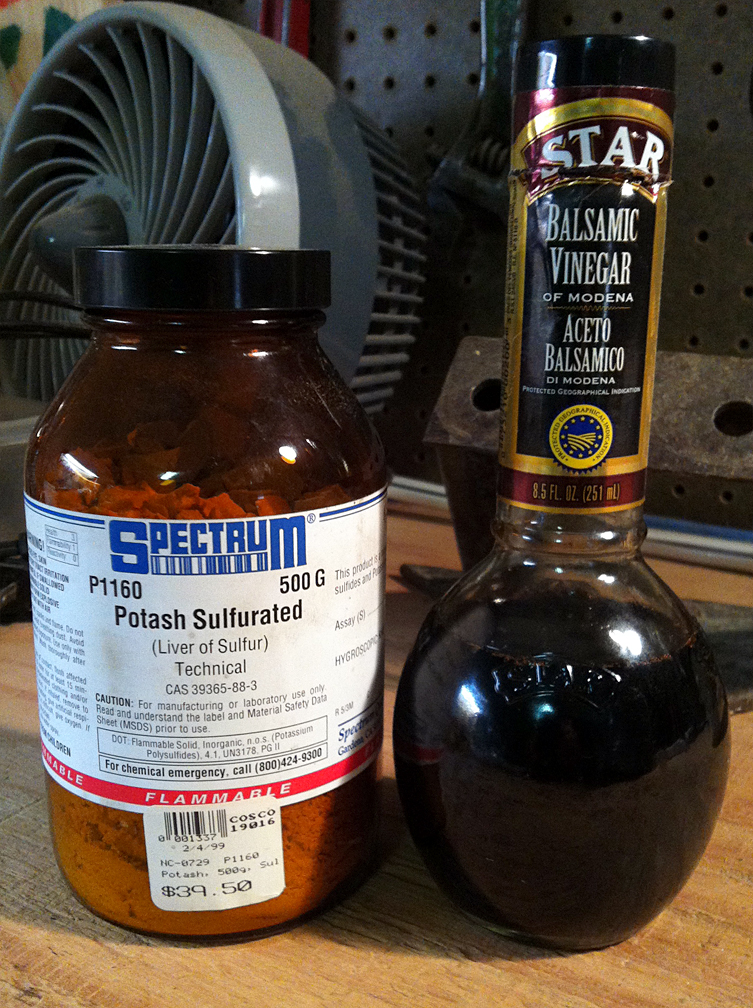 I take my hammered hinge and strip off the remaining factory finish with the Dremel, then sand the rough, obviously mechanically ground finish back down to a kind of half-ass polish. I place the hinge in a jar, being careful to keep my finger oils off of it, and dump in enough red wine vinegar to cover, then drop in a crumb or two of the potash. The latter bubbles in the vinegar and produces a brownish-grey murk. The air fills with the scent of rotten eggs. Excellent. Outside the garage I hear my wife exclaim: “What is that AWFUL smell?!?”
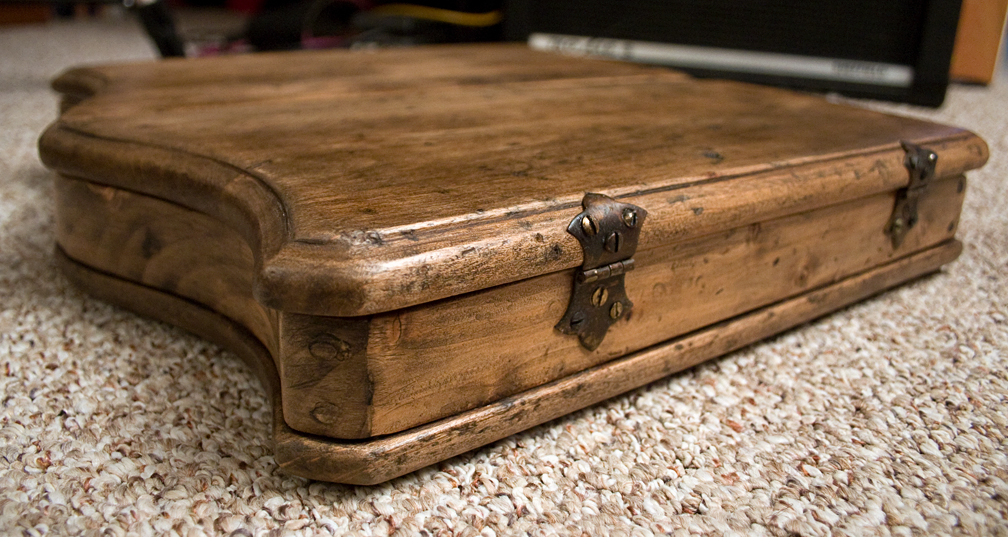 I let the hinges sit in this for around three hours or more, until the last of the brass shine is obscured by a dark mottling and patches of black. I am concerned the patina may be too fragile, however, and a bit of it wipes away as I am waxing on a protective finish as if to verify my unspoken fear. A little bit of flaking and variance is okay, though, isn’t it?
We shall see.
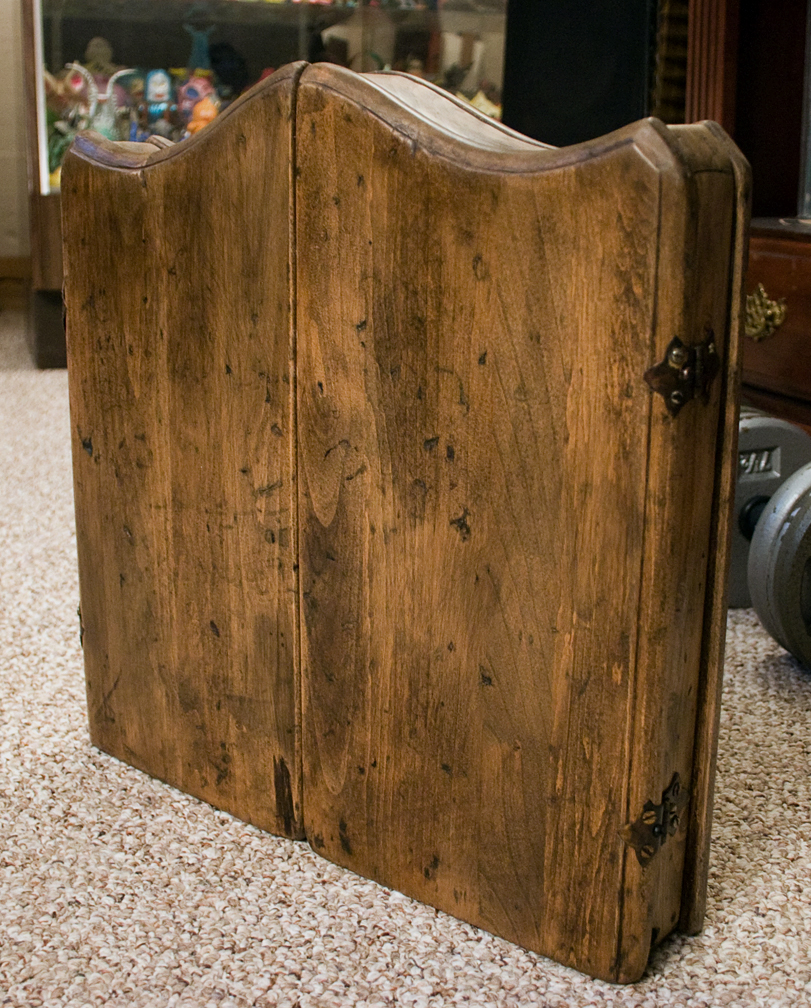 With my hinges ready, my arched frame in place, it is time for one more round of stain/abuse/sand/stain. I remove the hinges and begin. This time I’m a little less crazy once I get to the abuse stage because I don’t want to break the arch.
When it comes time for the final coat of stain, instead of brushing it on, I just rub it in with a paper towel. I want the coverage to be uneven and light. Once I have achieved a look I like, I decide to seal the wood with wax.
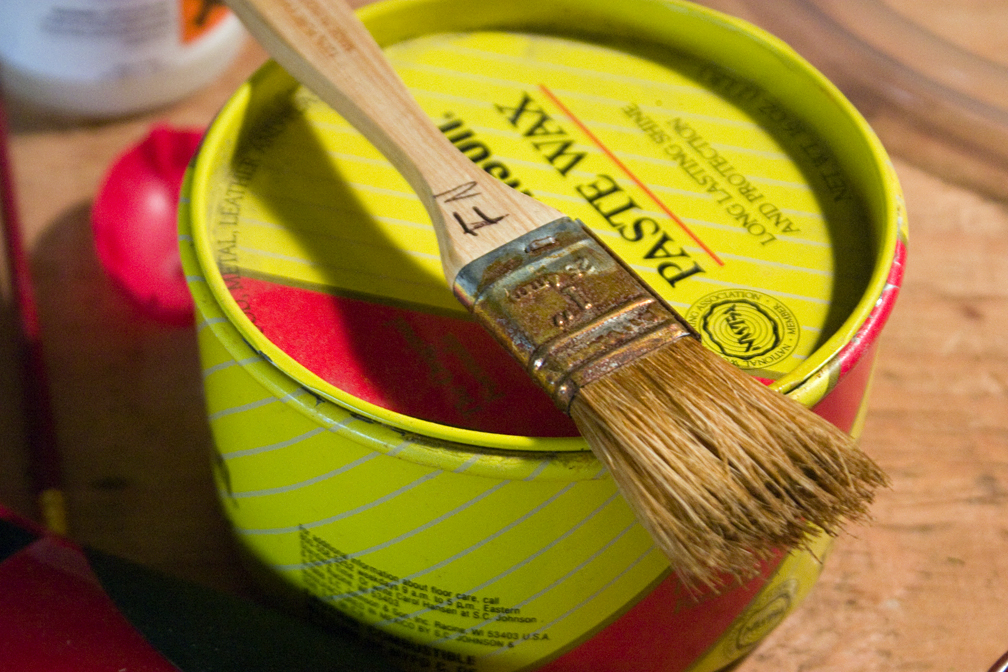 I used paste wax quite a bit to finish bronze and in this project, on the hinges, but have never tried it on wood. It goes on well and I like the subtlety of the finish once I have buffed it back – soft and clarifying. I give it three good coats, let it dry, and give it the once-over.
I’m not entirely in love with what I see.
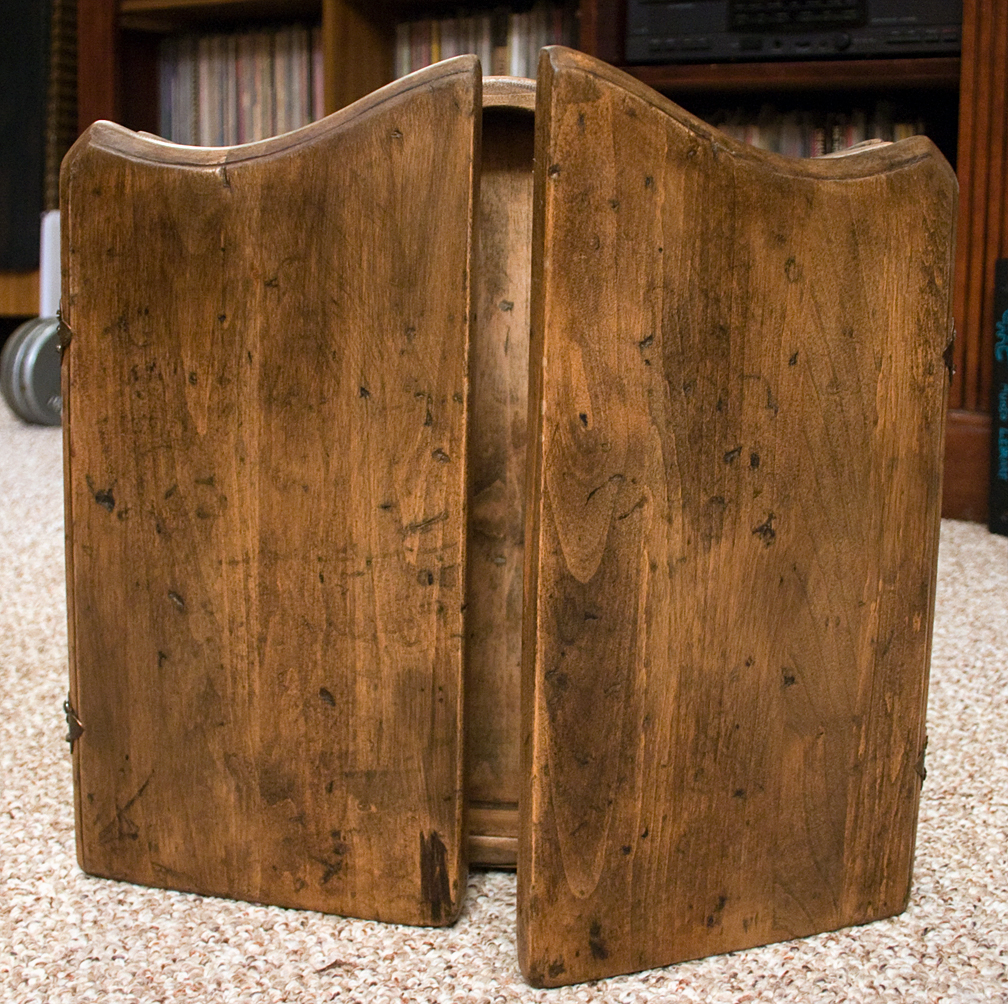 It looks too … something. The hinges could use some work and I find myself considering hot patina for a darker, firmer look of age. I wonder about a latch of some kind for the doors, even though it will probably *never* be engaged. The finish is a bit too even, too pretty for the look I was after and I find myself wishing I had a desert I could dump it in for a month or two. Worst of all, I can see hints of powertool-work here and there in the finish. Do I need to strip it again?
Most of all, I think of the next step. The last step. The big, intimidating, final step of the piece. Can I do it without painting myself into an unfortunate corner … ?

